It’s around this time of year that you usually start hearing a lot about “winterization” and preparing your home for the cold months ahead. You may be wondering whether winterization really helps you get your home ready for the winter months. You might also wonder when the right time to start winterizing actually is. If you find yourself asking these questions, the answers are pretty simple. Not only should you winterize your home, but you should winterize it well before the cold weather starts moving in.
Winterizing your home can be a big job, so it’s important to understand how different winterization tasks will benefit you. The more you understand about winterization as a whole, the better you’ll be at figuring out which specific winterization tasks will provide the most benefit for your home and circumstances. While it’s a large topic to cover all at once, here is some basic information to cover then whens, whys, and hows of winterizing your home.
When to Winterize
Winterization should start once the temperature starts to fall and nights start getting a lot cooler. In many areas this is late October and early November but depending on where you live you might want to start winterizing even earlier than that. Some people think that the timing is just so that cold weather doesn’t take you by surprise, but the actual reason is a bit more practical than that.
Winterization involves a number of home maintenance and repair activities, and some of these involve adhesives, sealants, and other materials that have to cure or dry. The colder it is, the longer it takes for these materials to set up properly. In some cases, they might even experience shrinkage or fail to set up at all if the temperature is too cold for too long. Starting winterization early enough in the fall ensures that you have enough time to get everything done before temperatures drop into the trouble zone.
How to Winterize Your Home
Winterization can be broken down into three general types of activities. These general groups are inspection, repair, and prevention. The specifics of these activities will depend on where you live and how your home is laid out, but here are the basics:
- Inspection activities involve checking to see how barriers and equipment are holding up to make sure that they’re ready for winter. Examples include checking your roof for signs of damage, checking for drafts or other signs of window leaks or damage, and having your furnace or heat pump inspected to ensure that it’s clean and working properly.
- Repair activities involve fixing damage and checking items off your to-do list to prevent things like drafts or unwanted animals or insects from getting into your home. Examples include fixing your siding, replacing damaged shingles, or getting repairs done to your HVAC system.
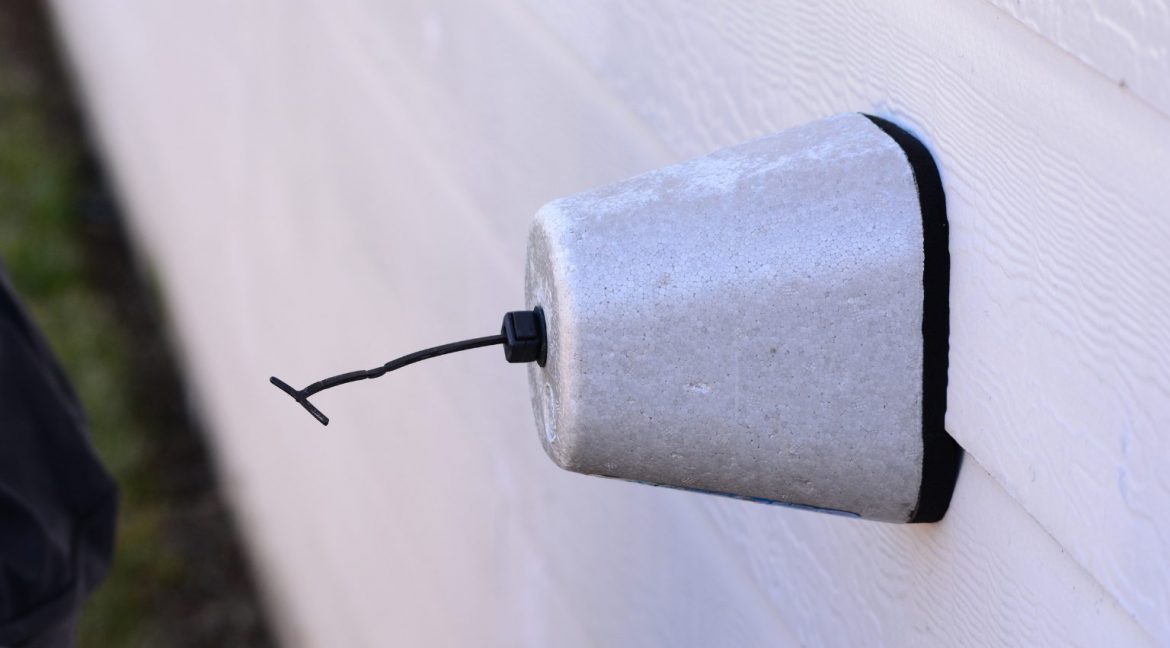
- Prevention activities are tasks that help you to preemptively take action so that potential winter problems never come to pass. Examples include covering pipes with insulation to prevent freezing, taking window unit air conditioners out of your windows to prevent heat loss, installing thermal film over your window interiors, and disconnecting hoses from outdoor faucets before installing faucet covers to prevent leaks and freezing.
It can be a big job to cover all your winterization tasks, but each one that you complete can help you to avoid problems and even save some money over the course of the winter. Many winterization tasks are common DIY activities, though some will require a bit of professional help to complete.
Professional Winterization
It’s increasingly common for homeowners to bring in professionals to help with some or all of their winterization activities. This includes things like professional roof or HVAC inspections, calling a plumber to inspect the pipes under the house and make sure that they’re insulated, and installers to replace old drafty windows with new ones. No matter what type of pro you need, HomeKeepr can help you find them. Sign up for a free account today to connect with pros in your area to help you get your home ready for winter.


